Hi,
I don't know if it's the good section, but I wanted to share with you the history of my car, from France !
For the past few months, the idea of bartering the motorcycle (GSR750) for an old sports car to be restored having its way, I finally took action.
In September 2019, I therefore acquired a TT Mk1 quattro 225hp from 2001 with 180,000 km (~112,000 miles)
She was a granny who is a bit worn out mechanically and aesthetically, but knowing that it is a pleasure car and not my daily, I do not put pressure on myself.
Since September, my project is to restore her and get closer a S-Line finition, wich exist also in raven black pearl (LZ9V)
Here is the car on the day of purchase:

The list of faults identified by the previous owner:
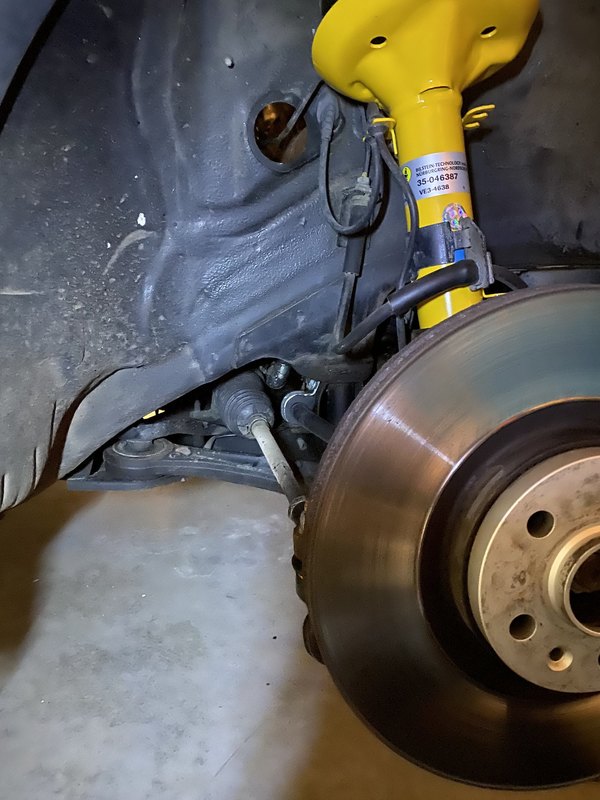
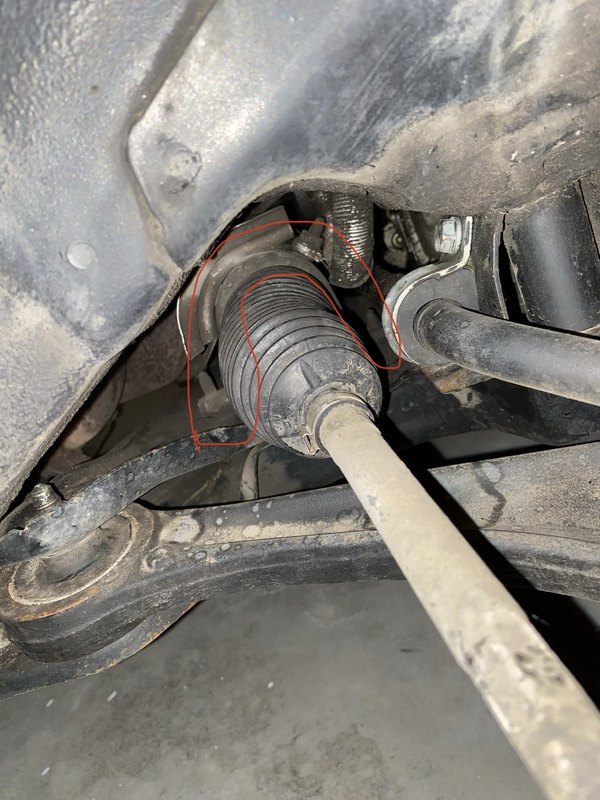
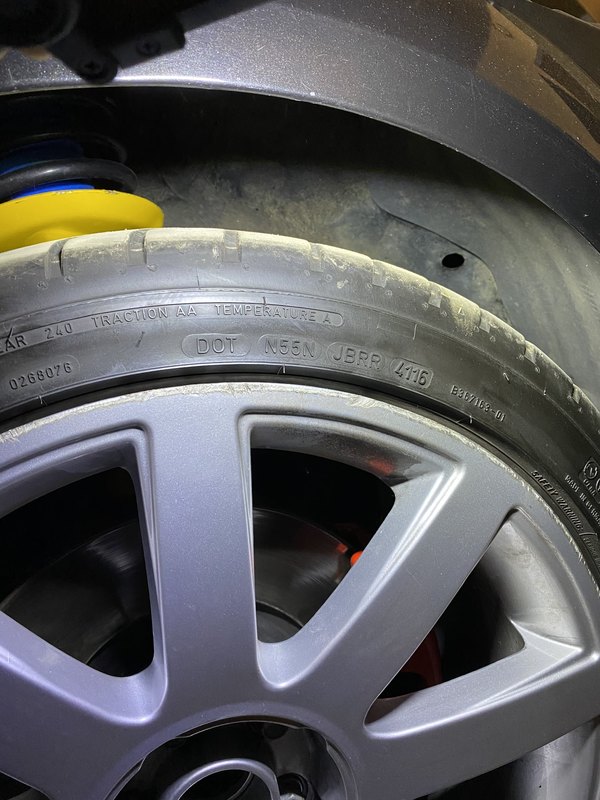
- Play / clicks in the right front axle
- ESP light on: a priori due to the steering angle sensor, which he provided to me
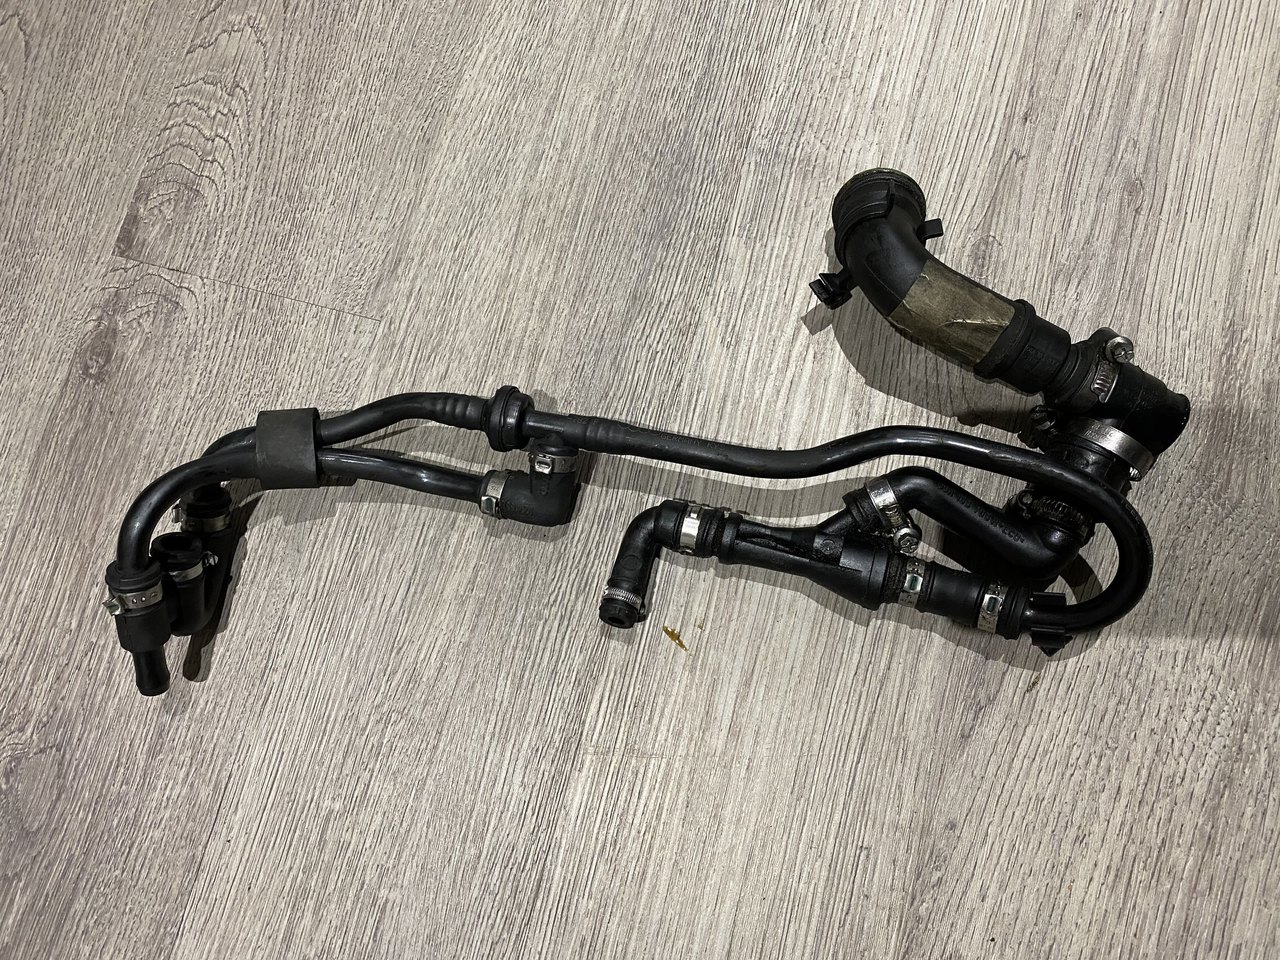
- Engine warning light (EOBD) on: a priori due to a false contact at the level of the camshaft sensor harness
- ABS warning light which lights up from time to time: There, I suppose dirt on the wheel sensors, before going further
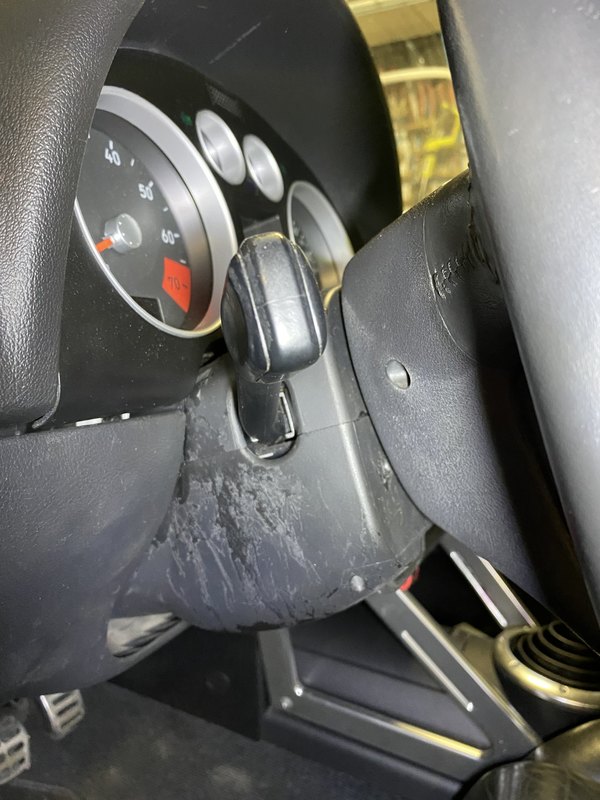
- LCD screen of the dash very tired
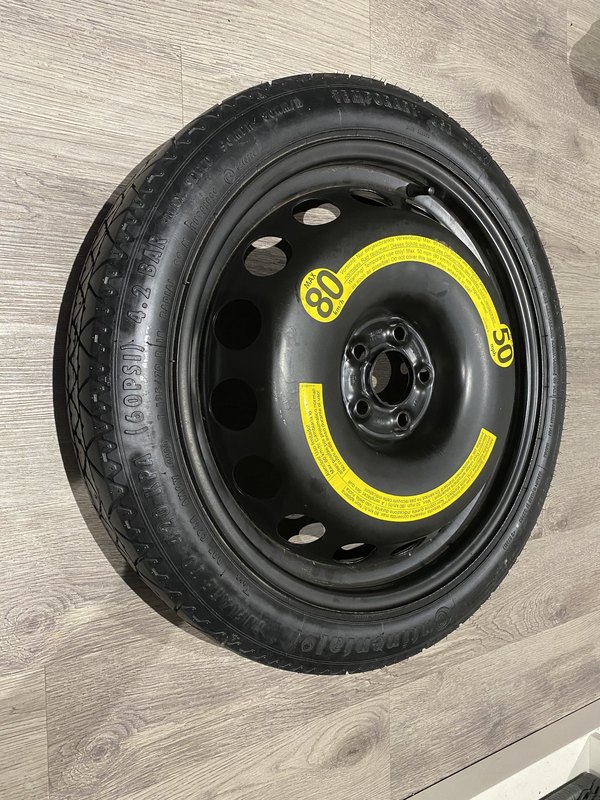
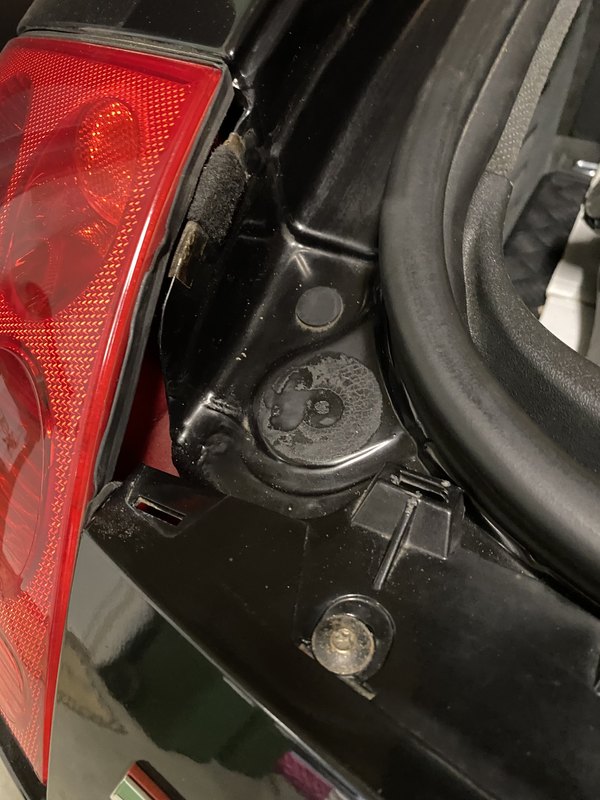
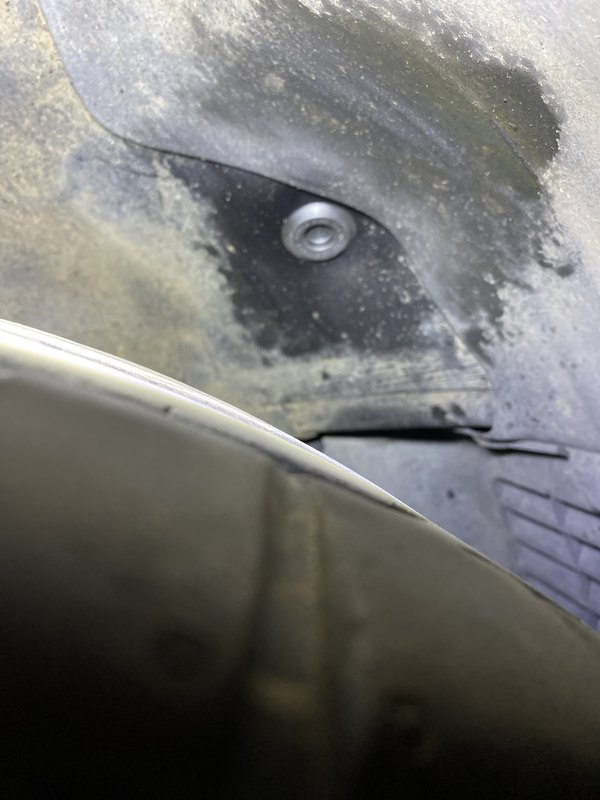
- Some body defects
And during taxiing before the purchase, I detected what I think is a axle problem on the right front (mechanical vibration maintained when we maintain the heading on one side, and nothing when we change direction), and a the light symbolizing a "defective engine oil sensor" came on just after a stop for a few minutes, then went out about 20 minutes later.
I don't know if it's the good section, but I wanted to share with you the history of my car, from France !
For the past few months, the idea of bartering the motorcycle (GSR750) for an old sports car to be restored having its way, I finally took action.
In September 2019, I therefore acquired a TT Mk1 quattro 225hp from 2001 with 180,000 km (~112,000 miles)
She was a granny who is a bit worn out mechanically and aesthetically, but knowing that it is a pleasure car and not my daily, I do not put pressure on myself.
Since September, my project is to restore her and get closer a S-Line finition, wich exist also in raven black pearl (LZ9V)
Here is the car on the day of purchase:
The list of faults identified by the previous owner:
- Play / clicks in the right front axle
- ESP light on: a priori due to the steering angle sensor, which he provided to me
- Engine warning light (EOBD) on: a priori due to a false contact at the level of the camshaft sensor harness
- ABS warning light which lights up from time to time: There, I suppose dirt on the wheel sensors, before going further
- LCD screen of the dash very tired
- Some body defects
And during taxiing before the purchase, I detected what I think is a axle problem on the right front (mechanical vibration maintained when we maintain the heading on one side, and nothing when we change direction), and a the light symbolizing a "defective engine oil sensor" came on just after a stop for a few minutes, then went out about 20 minutes later.